Rain Gutter Book Shelves

SO I am going to break this down step by step so everyone can have these awesome shelves for their kiddos as well! It is definitely a space saver. It also cleaned up the floor and made the whole room look neater! SCORE! Now, I know Zoey can not reach all the shelves but I will be able to rotate out books whenever she needs! And another cool thing about this is that you can make as many as you need and any size you like! :)
Items needed:
- Rain gutter of choice
- End pieces for as many shelves as you are making (right and left)
- Tacky glue (optional)
- Drill
- Screws
- Washers
- Stud finder
- Pencil
- Measuring tape
- LOTS of books to fill them with :)

First you will need to buy one long gutter (sorry I forgot that pic) This is after my husband measured and cut the sizes we wanted! You can also nicely ask the associates at Lowes to cut them for you ;)

You will need end pieces for each side (make sure you have left and right pieces)

SO make sure you know before leaving Lowes how many shelves you are making so you make sure to pick up all the end pieces you need

I used tacky glue I already had at home to glue the ends on.

I just put a line of glue around the entire end piece

And easily slide it on to the end of the gutter. The edge of the gutter has a lip so technically the end piece would stay on without the glue but could easily be pulled of by a toddler :) So I went ahead and glued them!

After all the ends are on you can begin hanging! (this is where the hubby comes in to play) :)

What you will need to hang! Drill, screws, tape measure, pencil, stud finder, and washers

After you determine where you want your shelves hung (using a tape measure) You can use a stud finder to know where to put your first screw. After every shelf has one center screw you can now level them out and continue with additional screws.


This is my Sweet girl Zoey mimicking her daddy with the stud finder lol

TA DA!!!! Thanks to these helpers we are finished! It is that easy!

BEFORE

AFTER!!
Here are a few pictures of our playroom now!


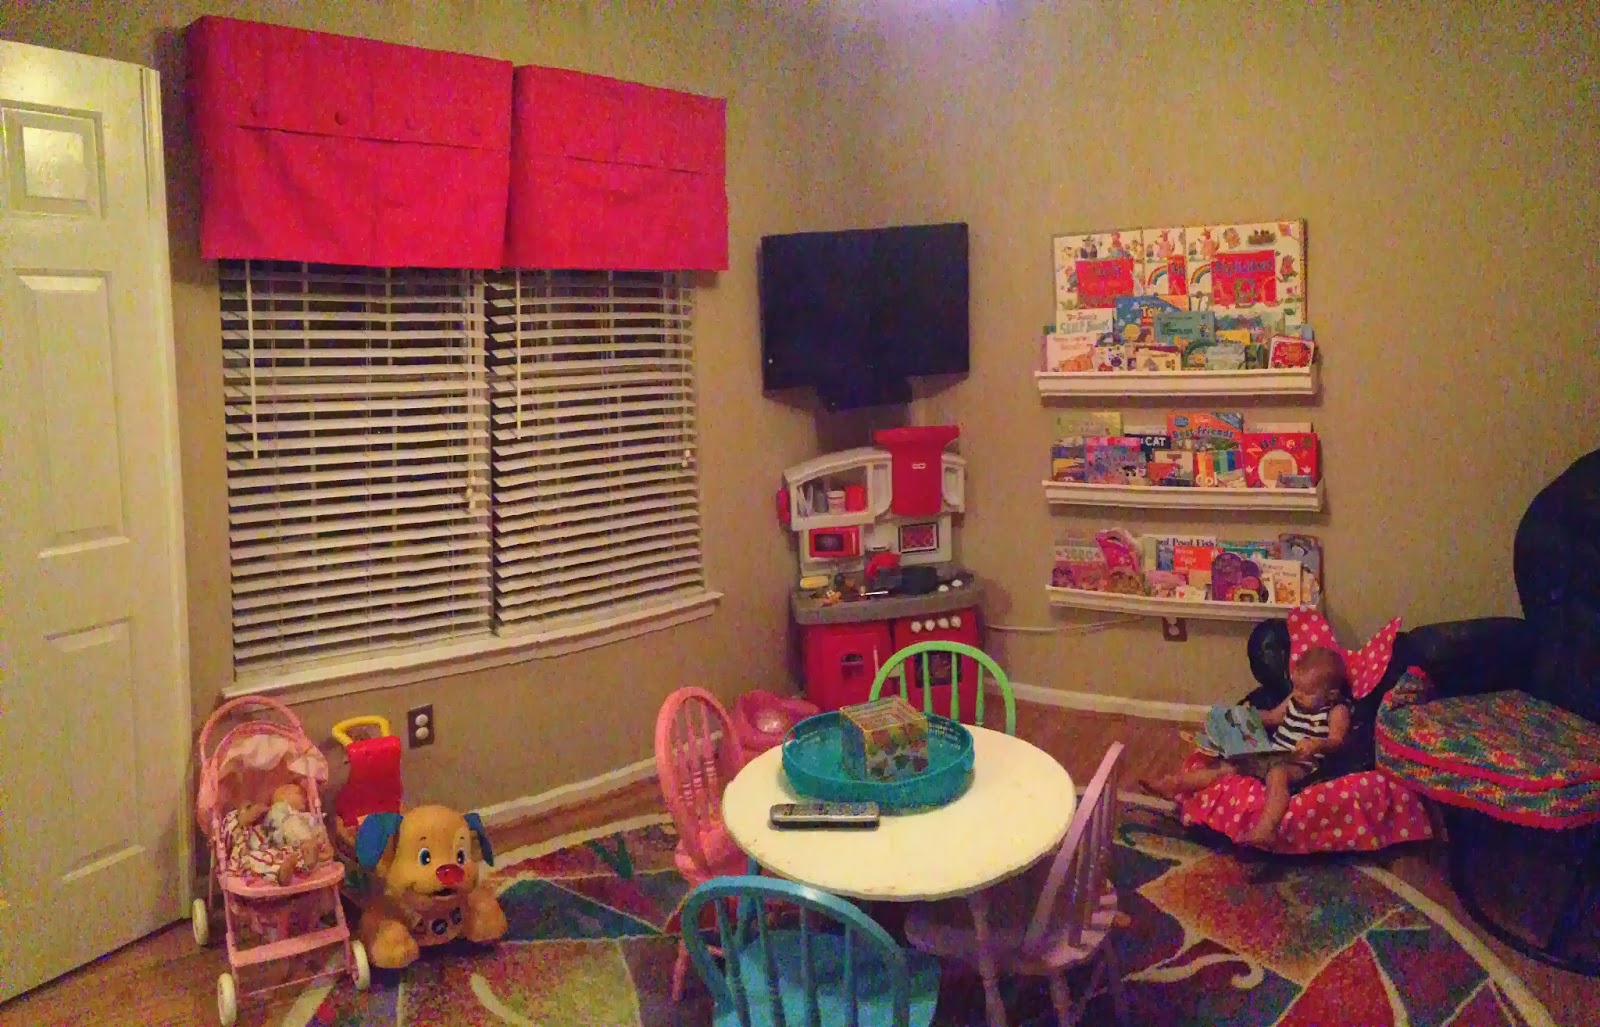


I am so in love with Zoeys new space and feel so grateful we can provide her with her own little play room!! I just love how bright and colorful it is. She really loves it and we spend lots of time in here together bonding! I will be adding some canvas art to personalize her room a little more! So more decor to come....
I hope this inspires some of you to find even the smallest of areas and make it your kiddos own little space. A reading corner is the best thing you can provide them with. I have been reading to Zoey since the day she was born and it is one of our favorite things to do together!
Live, Laugh, & Love,
~Lana
Really creative. You are a completely excellent , brilliant and creative person. I went through all of your blogs. You even made laundry detergent by your self. Great. Appreciate your way of decorating your home. - Denturist
ReplyDelete